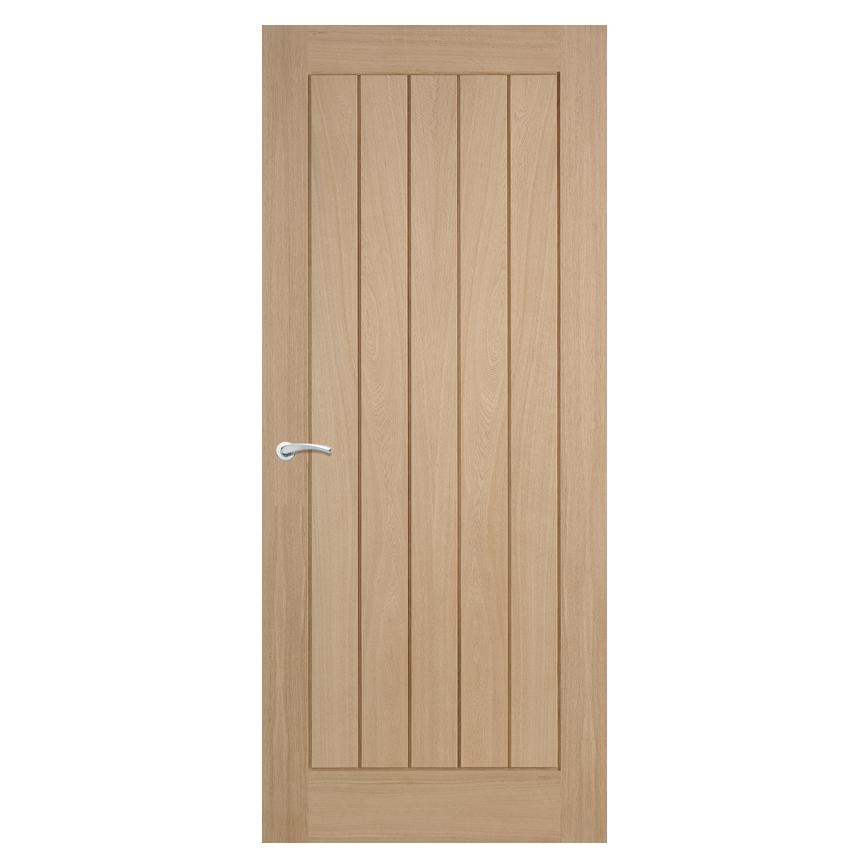
Internal Doors
Fitting Internal Doors in the UK: A Comprehensive Guide
Fitting internal doors in the UK is a task that combines practicality with aesthetics, playing a crucial role in the overall appearance and functionality of your home. Whether you’re updating old doors, replacing damaged ones, or fitting new ones in a renovation or new build, getting the process right is essential for ensuring that the doors operate smoothly and enhance the interior design. This guide will walk you through the key steps and considerations involved in fitting internal doors in the UK.

Types of Internal Doors
Before diving into the fitting process, it’s important to choose the right type of door for your space. Internal doors in the UK come in a variety of materials and styles:
•   Solid Wood Doors: These are durable, offer excellent sound insulation, and bring a touch of natural warmth to any room. However, they are heavier and more expensive than other types.
•   Hollow-Core Doors: Lightweight and affordable, these doors are made with a wooden frame filled with cardboard or plastic. While they are easier to handle, they don’t provide the same level of insulation or security as solid wood doors.
•   MDF (Medium Density Fibreboard) Doors: MDF doors offer a smooth surface that is ideal for painting. They are stable and less prone to warping compared to solid wood, making them a popular choice for modern homes.
•   Glazed Doors: These doors feature glass panels, allowing light to flow between rooms while still providing a physical barrier. They are ideal for areas where you want to maintain brightness and openness, such as between a hallway and living room.
Tools and Materials Needed
Fitting an internal door requires specific tools and materials. Here’s a checklist:
•   Tape measure
•   Pencil
•   Spirit level
•   Wood plane
•   Chisels
•   Hammer
•   Screwdriver or drill
•   Screws
•   Hinges (typically 3 per door for stability)
•   Door handles and latches
•   Sandpaper
•   Door stops
Measuring the Door Frame
Accurate measurements are crucial when fitting an internal door. Start by measuring the height, width, and depth of the door frame. It’s important to measure at multiple points, as frames can sometimes be out of square, particularly in older buildings. Record the smallest measurements, as the door can be trimmed to fit if necessary.
Trimming the Door

Once you have the door, it may need trimming to fit your frame. Place the door against the frame to check its size. Most internal doors have a margin that can be trimmed, typically up to 10mm on each side.
Use a pencil to mark where the door needs trimming. If the door requires significant trimming, it’s advisable to take an equal amount from both the top and bottom to maintain proportionality. Use a wood plane for small adjustments or a circular saw for larger cuts. Remember to sand the edges smooth after trimming.
Fitting the Hinges
Hinges are typically fitted 150mm from the top and 230mm from the bottom of the door, with a third hinge in the middle for added support, especially for heavy doors.
Begin by marking the hinge positions on the door and the frame. Use a chisel to create recesses (mortises) for the hinges in both the door and the frame. The depth of the recess should match the thickness of the hinge plate to ensure the door closes flush with the frame.
Screw the hinges into the door first, making sure they are aligned properly. Then, hold the door in position within the frame (this may require a second person) and screw the hinges into the frame.
Installing the Door Handle and Latch
Next, it’s time to fit the door handle and latch. Start by marking the position for the latch on the edge of the door, typically about 1 metre from the floor. Drill a hole for the latch, ensuring it’s centred on the edge of the door. Then, drill a perpendicular hole through the door face for the handle spindle.
Fit the latch into its hole and screw it in place. Then, attach the door handles, securing them with screws. Ensure the handle spindle passes through the latch mechanism and operates smoothly.
Hanging the Door
With the hinges and handle fitted, it’s time to hang the door. Carefully position the door within the frame and screw the hinges into place. Check that the door swings freely and aligns with the frame, making any necessary adjustments to the hinges.
If the door rubs against the floor or frame, you may need to trim it further. After hanging, close the door to check that the latch engages with the strike plate on the frame. If necessary, adjust the position of the strike plate or the depth of its recess until the door latches smoothly.
Finishing Touches
Once the door is hung and functional, it’s time to add the finishing touches. If the door is unfinished, you may want to paint, stain, or varnish it to match your interior decor. Be sure to sand the door lightly before applying any finish to ensure a smooth, even application.
Finally, install door stops to prevent the door from swinging too far and damaging the wall. These can be fitted to the skirting board or the wall behind the door.
Fitting internal doors in the UK may seem daunting, but with the right tools, careful measurements, and a methodical approach, it’s a task that most DIY enthusiasts can accomplish. Whether you’re upgrading your home’s aesthetic or improving its functionality, a well-fitted door can make a significant difference to the look and feel of your interior spaces.

